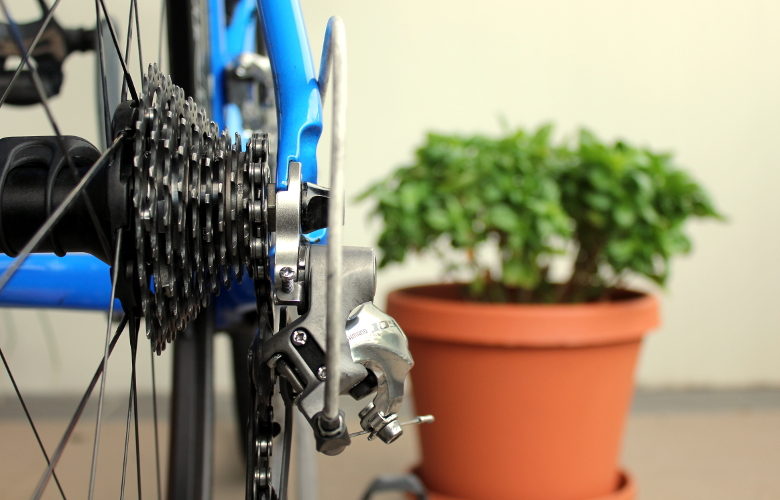
Last weekend’s club ride was a bit of a grind. Well, the company was good, but when my rear gear cable snapped I was left to choose between the mashing the 39×11 or, even worse, shifting up to a knee-crushing 53×11. After a couple of gruelling hours of unintended overgeared efforts, the final climb up North Rocks Road was unpleasant, to say the least.
At home, I set about replacing the broken cable. If it had snapped anywhere between the handlebars and the rear derailleur, this would have been a straightforward task: remove the old cable and slide in a fresh one. Unfortunately for me, the cable had snapped inside the Shimano 105 shifter itself, just under the “nipple” at the very end. A dozen frayed wires had entangled themselves within the shifter mechanism, making removal a frustrating challenge.
At first, I poked and prodded with a thin allen key to try to extract the darn thing. Ultimately, with some help from my friend Google, I found a simple solution to freeing the snapped cable. I’m running Shimano 105 5700 (10-speed), but this method may also work on other shifter models.
Expose the shifter
Roll up the brake hood to expose the shifter. If you shift through the gears, you may see frayed wires poking through that bottom hole. You may also need to unwind the bar tape for this task.
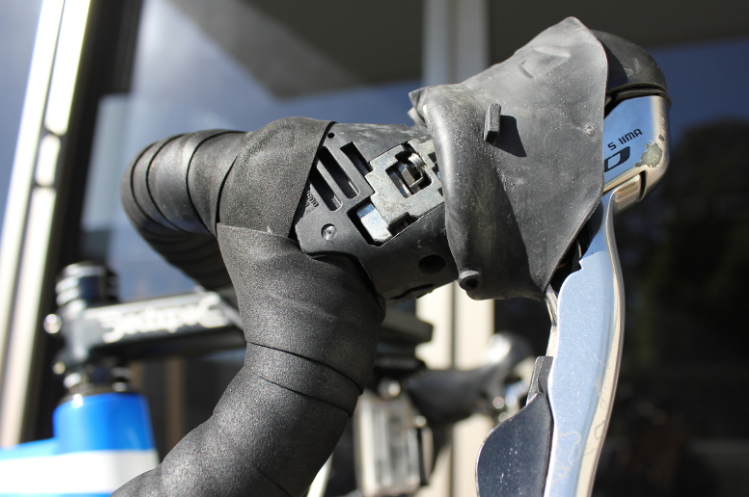
In order to access the mechanism, I exposed the shifter by unwrapping the handlebar tape and rolling up the rubber brake hood. Then, I removed as much of the gear cable as I could by pulling from the other end down near the rear derailleur. In hindsight, I probably didn’t need to unwrap the bar tape; rolling up the brake hood would have given me enough access.
Remove the cover plate
There is a small screw on the inside of the lever. Unscrew it to remove the cover plate.
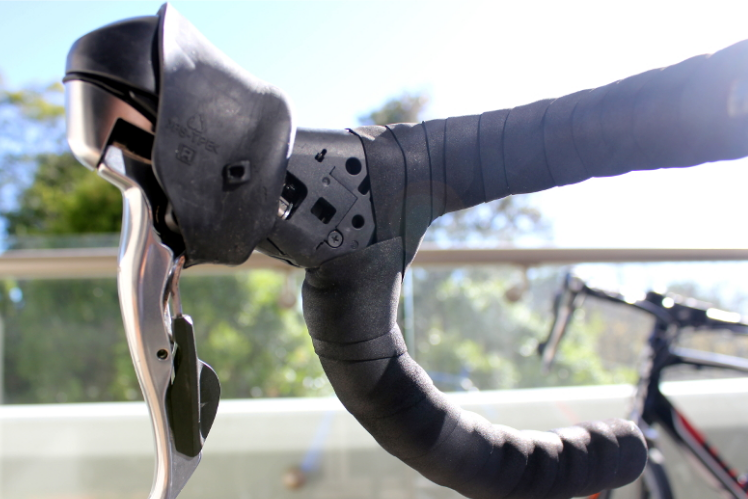
If you sweep up and down the gears, while looking at the shifter from below, you may see some frayed wires poking through the hole where you’d normally insert a fresh cable. Your natural instinct will be to try to pull the frayed wires out of that bottom hole. That won’t work; you have to push the nipple out instead. Here’s how you do this easily: on the left hand side of the shifter, there’s a plastic cover with a tiny screw. This covers up the inner mechanism. Unscrew it with a small Phillips-head screwdriver and remove the cover.
Extract the cable end
With the cover plate removed, if you shift through the gears you will hopefully be able to see and extract the cable end nipple, highlighted by the red circle.
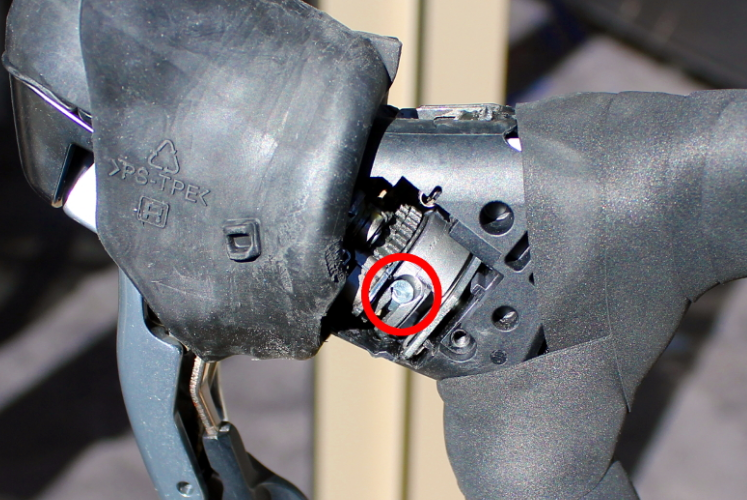
Now you can see inside the shifter mechanism. Shift up and down the gears until you can see the face of the nipple pointing towards you. Hopefully, if you flip your bike upside-down and tap firmly, the nipple will fall out by itself. Otherwise, try to extract it with some needle-nose pliers.
If it’s stuck firmly, try twisting and prodding some of the frayed wires from the bottom hole so that they become disentangled from the mechanism, allowing the nipple to come free. You may need to shift up and down the gears to see the frayed wires. With some luck, a bit of patience, and the right alignment of all the angles, the stuck cable end will eventually come free.
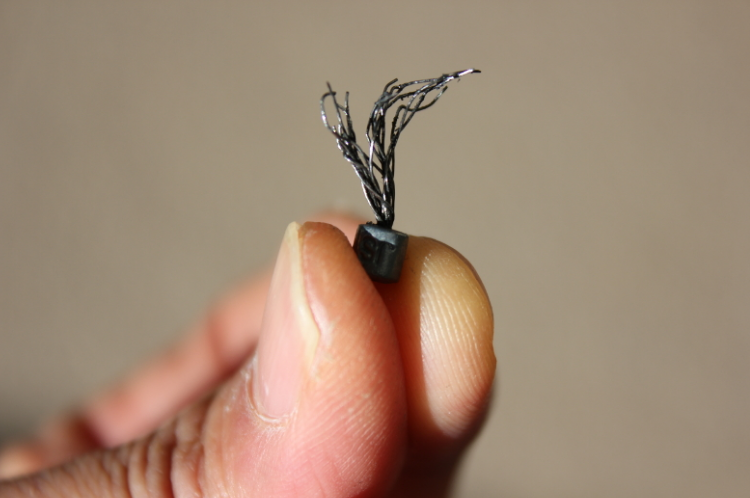
The pesky little cable end nipple, free at last! Some of the frayed wires had been caught inside the shifter mechanism.
Clean the shifter
Before inserting a fresh cable, clean the shifter from any debris and stray wires. After that, just install a new gear cable as per usual, then go out and enjoy the freedom of spinning your legs again!
I’m no bike mechanic, but it’s satisfying to solve small maintenance issues like this without having to visit the bike shop. Being a cyclist has definitely made me just a little bit more handy. I’ve also learnt that prevention is better than cure. Next time, when my shifting starts feeling a little loose and spongy, I’ll be sure to check my cables before they snap!

